
Built Together.
Your Offroad Partner.
Your Offroad Partner.
Your Offroad Partner.
Your Offroad Partner.

Choose a no-drill Tacoma roof rack when its manufacturer confirms mounting compatibility with your exact cab and model year; choose drill-in mounts only when the approved system requires new roof holes and you accept permanent installation work. Neither method automatically provides greater load capacity, and no-drill does not eliminate sealing, clearance, or hardware checks.
For a 2026 purchase, identify your truck's model year, cab configuration, and intended cargo before comparing racks. Start with the Tacoma roof rack cab and cargo guide if those requirements are not settled.
Choose the approved attachment system for your exact Tacoma, not the installation label that sounds strongest. No-drill and drill-in describe how a rack attaches; neither term establishes its load rating, accessory compatibility, or suitability for rough trails.
| Mounting approach | Best for | Practical advantage | Main trade-off | Evidence to check |
|---|---|---|---|---|
| No-drill mounts | Owners avoiding new roof holes | Avoids creating new holes when installed as specified | Existing attachment points or clamp interfaces still need inspection | Exact cab application, mounting instructions, sealing requirements |
| Drill-in mounts | Owners whose approved rack requires permanent attachment | Provides the attachment layout specified for that system | Adds irreversible roof work and responsibility for protecting new holes | Hole locations, backing hardware, underside access, sealing procedure |
A product photo cannot establish which approach your truck needs. Read the installation instructions before ordering, including any notes about removing trim, opening factory-covered locations, or accessing the underside of the roof.
A daily-driven Tacoma needs more than a platform that holds cargo. You also need usable garage clearance, manageable wind noise, secure attachments, and a roof installation that keeps water outside the cab.
A rack can satisfy one requirement while failing another. A platform that accepts your cargo does not necessarily provide the attachment spacing required by that cargo's mounting hardware.
Iron Ridge Offroad is best for truck and SUV owners shopping aftermarket off-road parts. For roof-rack selection, use vehicle-specific documentation rather than treating a broad vehicle-category match as fitment approval.
A no-drill Tacoma roof rack avoids creating new mounting holes when installed according to its instructions. Depending on the design, attachment can involve approved existing locations or a vehicle-specific clamping arrangement; inspect the actual system rather than assuming how it works.
The main advantage is straightforward: you avoid drilling new holes into the cab. That matters when you want to limit permanent changes or expect to remove the rack later.
The limitation is equally important. No-drill does not mean no disassembly, no contact with painted surfaces, or no sealing work around existing openings.
Look for a clear explanation of the attachment interface. Instructions should show where each foot sits, what hardware secures it, and which pads, seals, or spacers belong between components.
Check whether the installation changes roof trim or uses existing threaded locations. If the instructions call for seal replacement or sealing compound, those steps remain necessary even though you are not drilling.
Choose no-drill for its approved attachment method—not as a promise of zero installation work. If the documentation leaves the mounting interface unclear, resolve that question before ordering.
A drill-in Tacoma roof rack requires new holes at locations specified by the rack manufacturer. Use that approach only when the complete mounting system is documented for your truck's exact application.
The benefit is that the rack uses its intended permanent attachment layout. That does not prove it carries more weight than a no-drill alternative; capacity still depends on the vehicle, rack, mounts, and operating conditions.
The drawback is permanent roof modification. Drilling also introduces tasks that a no-drill installation avoids, including protecting newly exposed metal and sealing newly created openings.
Confirm what sits beneath every proposed hole. Installation planning must account for interior trim, wiring, airbags, and any backing hardware required by the instructions.
Do not substitute a convenient hole location for the specified location. If you cannot inspect the mounting area or install the required backing hardware, stop and have a qualified installer review the job.
Follow the manufacturer's drilling, edge-treatment, sealing, and tightening procedures. An extra bead of sealant does not correct an incorrectly positioned hole or missing structural hardware.
For a 2026 Tacoma roof rack purchase, these factors determine which mounting approach deserves consideration. They also explain why a rack advertised for a Tacoma still needs an application-level check.
These factors work together. Correct cab fitment does not establish cargo compatibility, and cargo compatibility does not establish the permitted trail load.
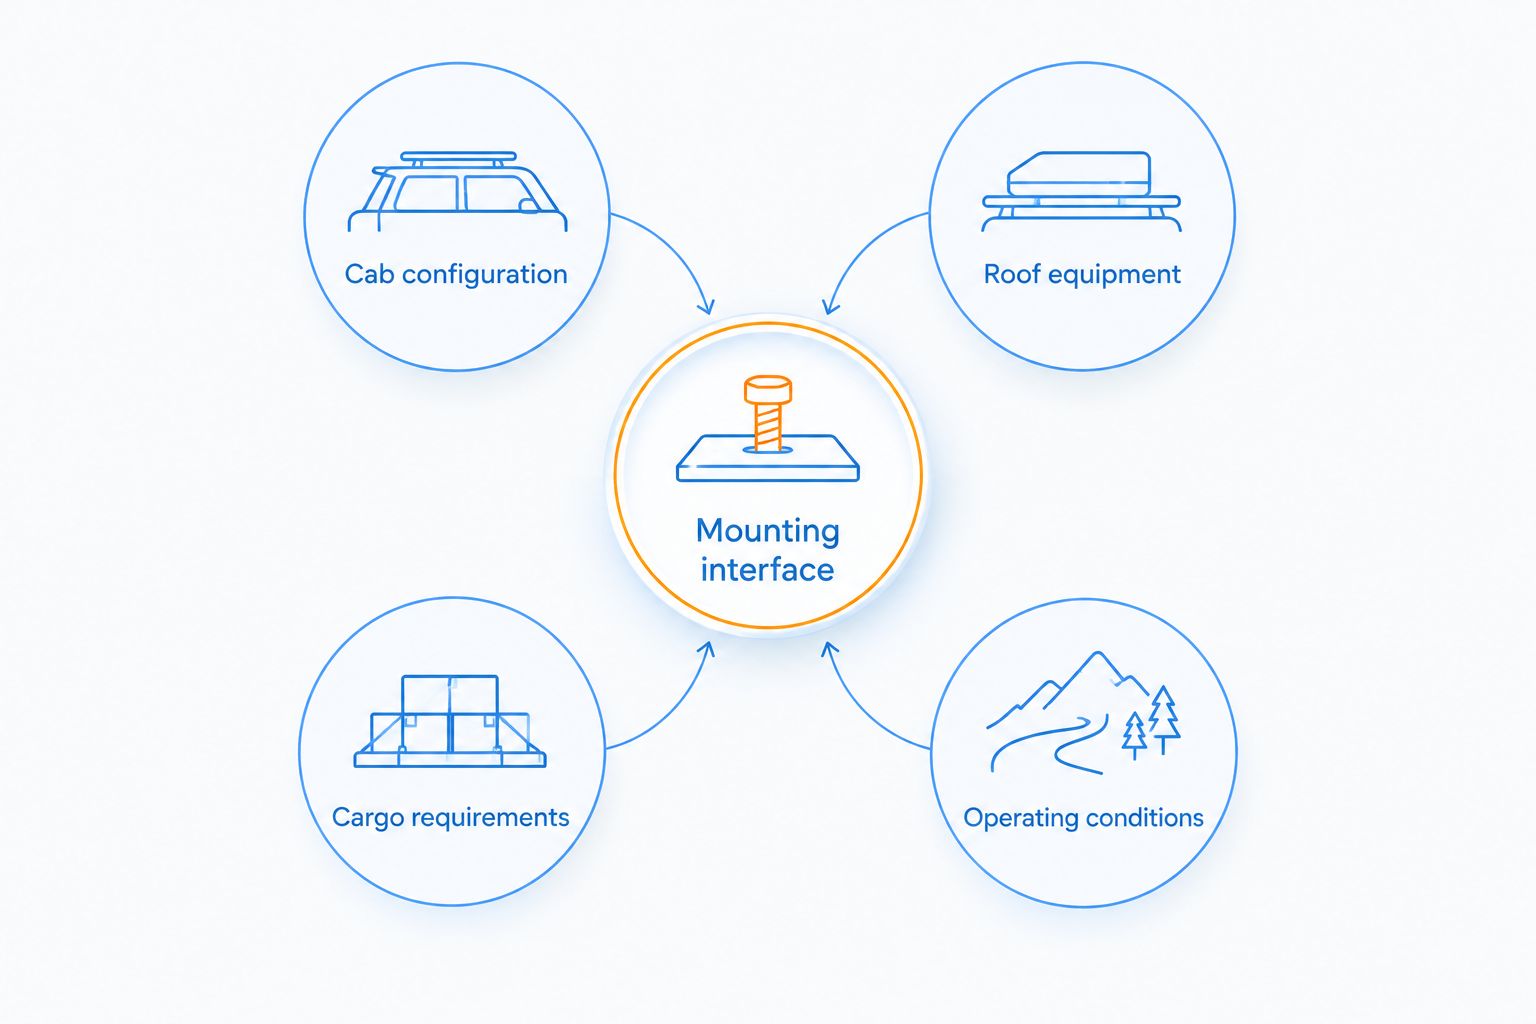
Build a fitment record before choosing a rack. You need the truck's actual model year and cab configuration—not the year you are shopping or a description copied from a similar build.
A guide updated in 2026 does not establish compatibility with every Tacoma sold before it. Likewise, a broad product title is not a substitute for the installation manual's application notes and exclusions.
Use these 4 checks in order:
Keep the rack and mounting-kit part numbers together in your notes. A compatible platform does not make an unrelated foot kit suitable for your roof.
Drill-in does not automatically mean higher capacity, and no-drill does not automatically mean light-duty. Use the published limits for every part of the installed system and follow the most restrictive applicable requirement.
Include the rack, mounting hardware, accessory brackets, and cargo when checking the applicable roof-load instructions. A cargo-only calculation leaves out equipment that also travels on the roof.
Driving and parked loading are different conditions. Read the Tacoma roof rack weight-limit guide before treating a parked-use rating as permission to drive with that load.
For trail use in 2026, check whether the rack manufacturer publishes separate restrictions for rough-road operation. Do not create your own reduction percentage or assume a highway rating applies unchanged off pavement.
Record these 3 measurements in inches: loaded overall vehicle height, usable platform length, and usable platform width. Use the planned rack configuration and actual cargo dimensions rather than relying on the platform's outside dimensions alone.
Include anything above the platform when checking height. A rack that clears your garage empty can fail that check after cargo or an accessory is attached.
A Tacoma roof rack stays exposed during your commute even when the cargo stays home. Platform position, crossbars, accessory placement, and cargo all affect how air moves around the roof.
Do not choose between no-drill and drill-in based on an unsupported promise of silence. Look for the manufacturer's guidance on wind deflectors, crossbar positioning, and accessory installation, then keep unused equipment off the roof when practical.
Loading access matters too. Before ordering a wide platform, establish how you will reach the tie-down points without standing on unsuitable bodywork or stretching across unsecured cargo.
Iron Ridge Offroad serves owners buying suspension, lighting, armor, and other off-road parts. Treat those upgrades as separate decisions: a suspension change does not establish roof-rack fitment or replace the vehicle's published loading restrictions.
Inspect the attachment points, seals, and clearances after installing a no-drill Tacoma roof rack. Check that the specified hardware, pads, and trim pieces are positioned correctly and that no component interferes with normal vehicle operation.
Follow the manufacturer's tightening and inspection schedule. Look for movement, damaged contact pads, displaced seals, or witness marks that indicate contact where the instructions do not permit it.
A drill-in rack is not automatically the better rooftop-tent mount. Confirm that the vehicle, rack, mounting system, and tent instructions permit the intended driving and occupied parked use.
Check tent attachment spacing and access requirements as well as weight. Do not interpret a platform's general cargo rating as explicit rooftop-tent approval.
No-drill installation avoids new holes, but it does not guarantee a mark-free roof after removal. Contact pads, trapped debris, altered trim, and disturbed seals require inspection.
A drill-in installation leaves new roof openings when its mounting hardware is removed. Plan the approved closure and sealing method before committing to that installation.
What's the best Tacoma roof rack mounting method for a daily driver?
Choose the mounting method approved for your exact Tacoma cab, model year, and intended cargo. No-drill is the better starting point when avoiding new roof holes is a priority and the system meets your requirements.
Does a no-drill Tacoma roof rack use factory holes?
Some no-drill systems use approved existing attachment locations, while others use a vehicle-specific clamping arrangement. Read the exact rack's installation instructions rather than assuming which method it uses.
Is a drill-in Tacoma roof rack stronger than a no-drill rack?
Drill-in attachment alone does not establish greater strength or load capacity. Compare the documented vehicle, rack, and mounting-system limits for your intended use.
Will installing a roof rack cause water leaks?
The mounting label alone does not determine whether an installation keeps water out. Follow the specified sealing procedure and inspect both existing openings and any newly drilled holes.
Can I transfer a Tacoma roof rack to a different cab or model year?
Transfer a rack only when the manufacturer explicitly confirms compatibility with the receiving truck and the required mounting kit. Similar roof dimensions do not establish compatible attachment points.
What should I verify before ordering a Tacoma roof rack in 2026?
Verify the truck's model year, cab configuration, roof equipment, mounting-kit application, cargo requirements, and applicable load limits. Read the installation instructions before ordering.
Do I need a professional installer for drill-in mounts?
Use a qualified installer when you cannot confidently follow the required roof-access, drilling, corrosion-protection, sealing, and fastening procedures. Confirm the complete installation plan before any holes are made.
Read the removal procedure before choosing the installation method. Knowing how you would restore trim, replace seals, or close drilled openings makes the permanent consequences clear before the rack reaches your roof.
For your 2026 build, give Iron Ridge Offroad the exact vehicle configuration and the part numbers you are considering when asking a fitment question. A precise application question is more useful than asking whether a rack fits a Tacoma.